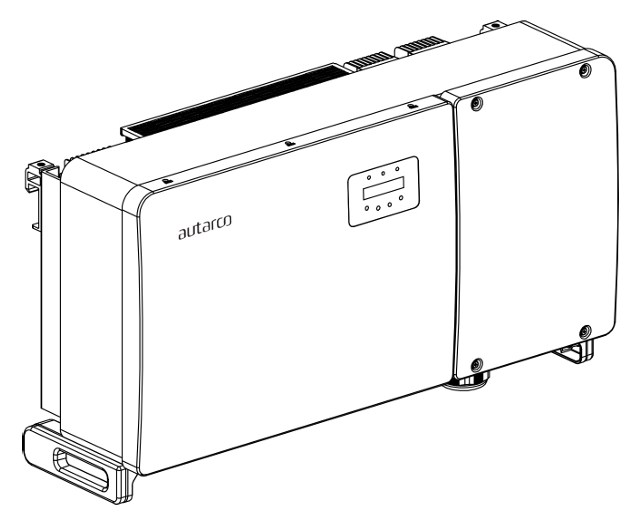
تصف هذه الصفحة التواصل مع العاكس على الشبكة من سلسلة Autarco OX عبر Modbus-RTU (rs485).
افتراضيًا، تم تعيين العنوان 1 للعاكس.
تحتوي عواكس OX على منافذ اتصال كالتالي:
- COM1: موصل أخضر 4 أسنان لتسجيل بيانات WiFi/Cellular.
- COM2 و COM3: عضادات كابلات وغطاء مع نقاط اتصال خلفها:
- 2 x وصلات RJ45
- 1 x بلوك طرفي RS485
خاص بـ SmartgridOne Controller، يحدث التواصل عبر RS485 من خلال منفذ 'COM2 Terminal Block'. هذا موضح في المربع البرتقالي في الصورة أدناه:
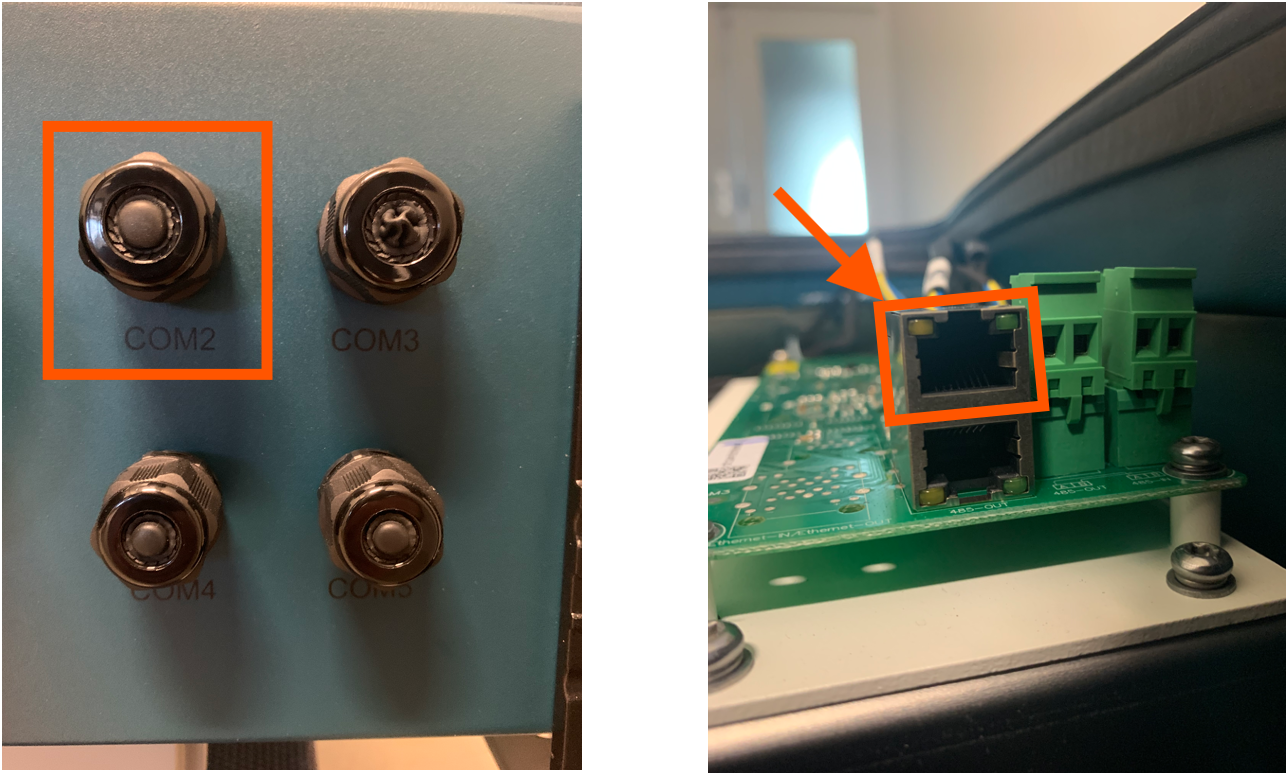
المنفذ هو منفذ RJ45، يُستخدم للتواصل عبر RS485.
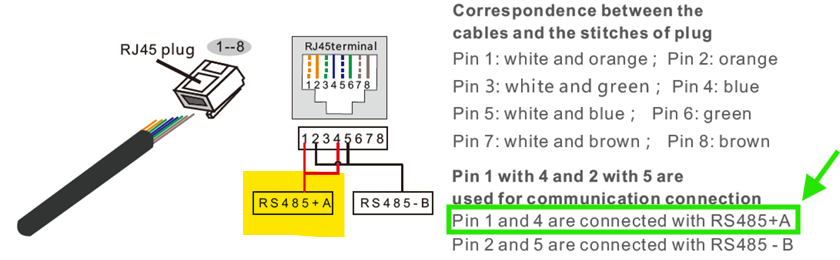
يحتاج كابل إلى التحضير لتوصيل العاكس بالعاكس.
- أدخل السلك في موصل RJ45 ثم ثبّت الموصل بأداة التثبيت.
- أزل غطاء المك nut من عضادات الكابلات المقاومة للماء المسماة COM2 و COM3 في أسفل العاكس. أزل السدادة من التركيب.
- أدخل موصل RJ45 في منفذ RJ45 في حجرة صيانة العاكس.
- أعد تثبيت غطاء المك nut لـ COM2/3 وشدها بإحكام.
معلومات
RS485 Wiring
- For correct RS485 wiring: Follow the guidelines for RS485 wiring.
- If the wiring shown in the table below is incorrect, please let us know.
- There is no general consensus in the industry about the usage of A and B for the RS485 polarity, so it may be counterintuitive and opposite of what you might expect for some devices.
| Device | SmartgridOne Controller model OM1 | SmartgridOne Controller model IG8 | RS485-USB converter | RS485-Ethernet converter |
|---|---|---|---|---|
| Pin 3 | RS485 A | RS485_POS | RS485 A | TX+ |
| Pin 4 | RS485 B | RS485_NEG | RS485 B | TX- |
| N/A | RS GND | GND | Not available | G |
تحذير
NOTE: RS485 Device Addresses
- You MUST give each device on the RS485 bus a unique address. Check the manual of the device on how to do this.
- Use lower addresses first (1, 2, ...) because the SmartgridOne Controller will find them faster!
- For each device, it is generally recommended to stick with the factory default baud rate, parity, and stop bits. The SmartgridOne Controller will scan on those first.
Last updated March 11, 2026Edit this page